
The days of huge, heavy scanners are long since over – with printing and scanning technology having developed quickly, devices are much smaller now. What though, if you don’t have one to hand? Odds are you do, even without knowing.
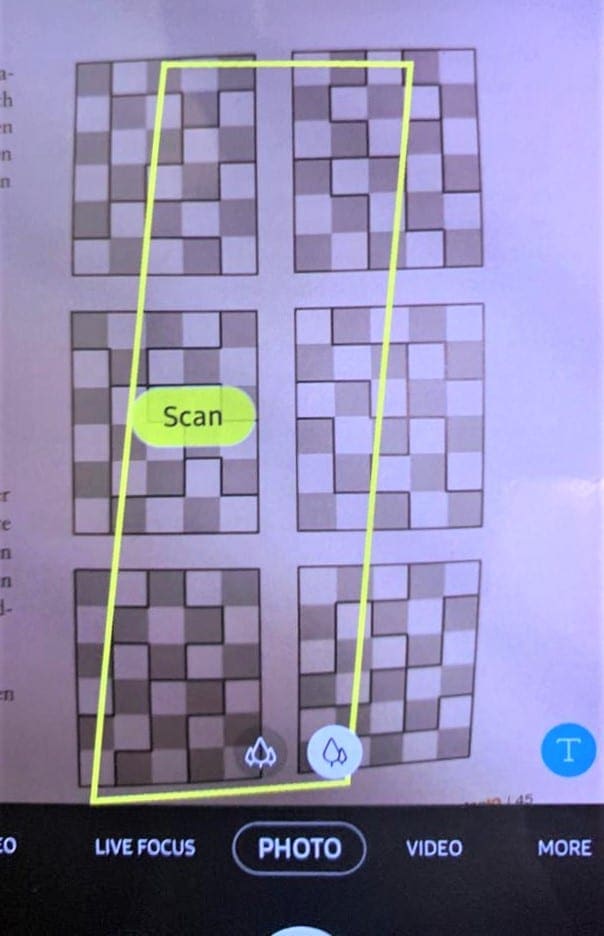
Android phones support scanning of documents natively – you don’t need to install any apps or even change any settings to use this function. All you need is your document and your normal Android camera. Launch it and point it at the document. It may take a few seconds, but a yellow outline with a scan button in the middle will appear.
In order to get a scan – which will be of the section within the outline only – tap the Scan in the middle. Unlike a regular photo, the scan will be cropped automatically and turned to be the right way up – meaning even if your camera is looking at it upside down, the scan will be the right way up.
Android will also apply some minor white-correction to make sure that the contrast of your scan is preserved. Because of all this, it will take longer than usual until the new image appears in your camera roll – it may take a few seconds. That’s all there is to it!
Some tips on scanning with an Android camera: